

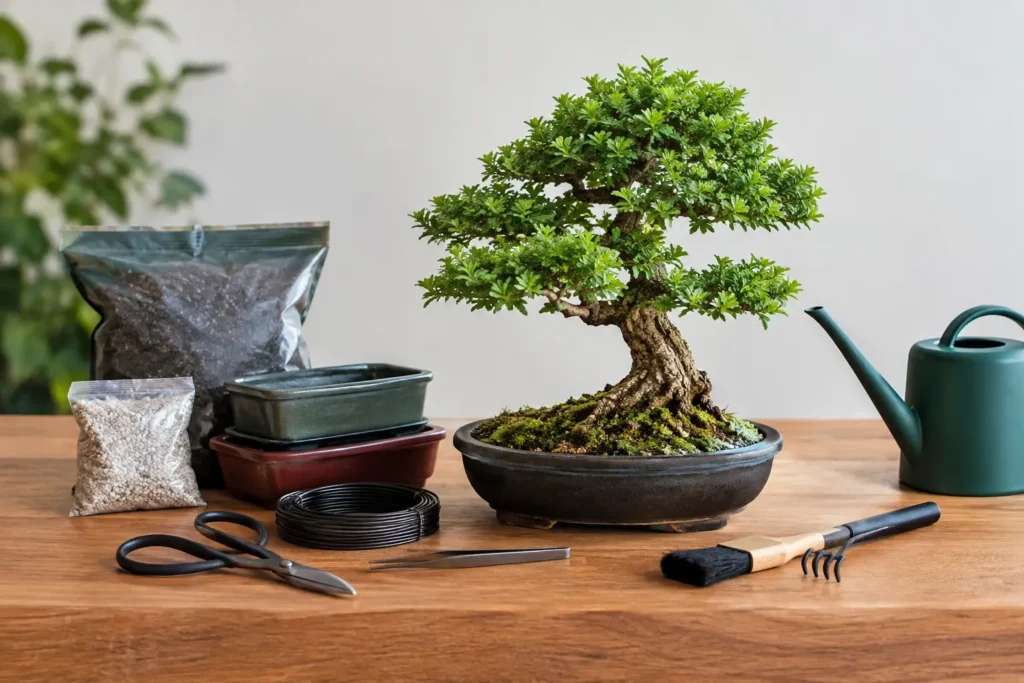
A bonsai starter kit in Australia should make your first few months easier, not leave you with a tiny pot, blunt scissors and a tree that has already had a rough trip. The best kit is not necessarily the one with the most pieces. It is the one that gives you a healthy, suitable tree and the basic gear to keep it alive while you learn.
For most beginners, that means starting with a tree rather than seeds. Growing bonsai from seed can be rewarding, but it is a long-term project. If you want to prune, shape and enjoy a little tree this year, buy a young established plant.
What should a bonsai starter kit include?
A useful kit begins with a healthy tree in a pot that drains freely. It should also include basic care instructions that name the species, rather than vague advice for “indoor bonsai”. Species matters. A Chinese elm, ficus, jade and juniper do not want the same amount of sun, water or cold weather.
The practical essentials are simple: a watering can with a fine rose, sharp pruning scissors, and a small amount of suitable fertiliser. A humidity tray can be helpful for a tree kept in a dry, bright position, although it does not replace proper watering. If your kit includes wire, use it later. There is no rush to bend branches on day one.
A decent starter kit may also include a care tag, basic soil mix, and a shallow tray to catch water beneath the pot. The tray is for protecting furniture, not for standing the pot in water all week. Wet feet are one of the fastest ways to upset a bonsai.
Some kits look generous because they include twelve or fifteen tools. For a first tree, most are unnecessary. Root rakes, jin pliers, concave cutters and heavy wire have their place, but they are specialist tools. You can buy them once you know you enjoy the hobby and have a job that calls for them.
Start with the tree, not the tool count
If you are comparing a bonsai starter kit Australia sellers offer, assess the tree before counting accessories. A healthy, forgiving tree will teach you far more than an impressive tool roll paired with a stressed plant.
Look for leaves that are mostly firm and evenly coloured, with fresh growth appropriate to the season. Check the trunk and branches for obvious damage, scale insects or sticky residue. The soil should smell earthy, not sour or swampy. A little leaf drop after transport can happen, particularly in winter or after a major change in light, but a tree that is already struggling is not an ideal first project.
Ask for the botanical or common species name. If the seller cannot tell you what tree it is, they cannot give care advice that is specific enough to be useful. “Bonsai” describes the way a tree is grown and styled. It is not a species.
For a first bonsai in many Australian conditions, these are often sensible choices:
- Chinese elm: forgiving, attractive and suitable for outdoor growing in many areas. It may lose some leaves in cooler weather.
- Ficus: a good option for warm, frost-free climates or a very bright protected spot. It dislikes cold draughts.
- Portulacaria afra: often sold as dwarf jade, this is water-wise and forgiving when given plenty of bright light.
- Juniper: best outdoors with real sun and airflow. It is not a good permanent indoor bonsai, despite what some gift labels suggest.
Your local climate changes the decision. A ficus that thrives on a warm Brisbane patio may sulk through a Melbourne winter outdoors. A juniper can handle cooler conditions but will not enjoy life on a dim desk. A good seller will be clear about those trade-offs.
The First Tree Test
Before buying, run the kit through this simple test: can you identify the tree, give it suitable light, water it properly, and ask for help if something changes? If the answer is yes, it is probably a better purchase than a fancy kit built around novelty.
Light is the biggest practical question. Most bonsai are outdoor trees. They need bright conditions, airflow and the natural change of seasons. “Indoor bonsai” usually means a tropical or subtropical species that can tolerate indoor conditions only if it sits right beside a bright window and still gets time outdoors when conditions allow.
Watering is not a calendar job. Check the soil each day, especially in hot or windy weather. Water thoroughly when the surface begins to dry, letting water run from the drainage holes. Then allow the mix to begin drying again before the next soak. A small bonsai pot can dry alarmingly quickly during an Australian heatwave, so a weekend away may require a plan.
Finally, consider where you will get reliable advice. A care card is useful, but it cannot see your tree, your light levels or your local weather. Choose a nursery or specialist that can tell you what you have bought and offer species-specific guidance. That support can be more valuable than an extra pair of pliers.
What a beginner can safely skip
Seed kits are popular gifts because they are compact and inexpensive. They are not bad, but they are often marketed as though a packet of seeds will quickly become a bonsai. It will not. Germination can be patchy, and several years of growing are needed before meaningful styling begins. Buy one if you enjoy propagation, not if you want an instant bonsai hobby.
You can also skip elaborate shaping wire, expensive display stands and decorative gravel at the start. Decorative stones can make it harder to judge soil moisture. Heavy pruning and root work should wait until your tree has settled into its new home and you understand its growth cycle.
Be cautious with kits that promise an “easy indoor bonsai” without naming the plant. The label may be doing more work than the horticulture. A clear species name and honest placement advice are much better signs.
A realistic first purchase budget
A basic kit with a healthy young tree, pot and simple care gear is often better value than a cheap all-in-one box. At the lower end, you may get a small tree and a pair of scissors. Spending a little more can bring a healthier specimen, better soil and advice from someone who knows the species.
If your budget is tight, buy the tree and a watering can first. Clean, sharp household snips can manage light trimming until you decide to invest in bonsai scissors. Fertiliser can come next, once the tree has settled and is actively growing. Avoid repotting immediately just because you have bought new soil. Repotting is useful when the tree needs it, not as a welcome-home ritual.
For gift buyers, a healthy tree with a clear care card is kinder than a novelty kit with lots of mystery items. Choose a species that matches the recipient’s likely location and lifestyle. Someone in a unit with a bright balcony has different options from someone with a shaded lounge room and no outdoor space.
Set up your kit on the first day
When the tree arrives, put it in the brightest suitable position for its species. Water only if the soil needs it. Do not prune, wire, repot and fertilise all at once. A bonsai has already been moved, handled and exposed to different temperatures, so give it a couple of weeks to settle.
Read the care instructions, but watch the tree as well. New growth, leaf colour and how quickly the soil dries will tell you more than a rigid routine ever can. Take a quick photo when you bring it home. It is surprisingly useful later when you are trying to work out whether a branch has grown, leaves have faded or the tree is simply changing with the season.
Your first bonsai does not need to be perfect. It needs light, sensible watering and a patient owner willing to learn its habits. Start with a tree you can keep healthy, and the styling side becomes a pleasure rather than a rescue mission.